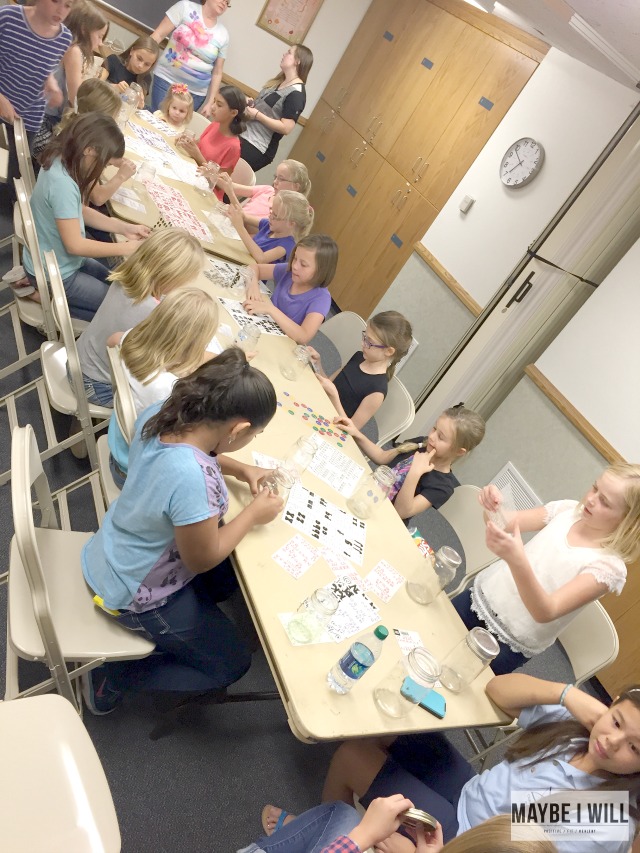
Teaching Kids To Give
Materials for project were supplied by Expressions Vinyl, All thoughts and opinions expressed are 100% mine.
Teaching your kids to give this time of year is a wonderful opportunity! With so much focus on giving and being thankful it helps kids to look outside themselves and focuses on others! By using my Cricut Vinyl Cutting Machine I was able to transform a basic mason jar into a tool to help my kids focus on giving in a fun and pretty way! I loved this idea so much that I actually had all my Activity Age girls (8-11) make these for a project! We spent and entire activity decorating and making our jars. Accentuated with Vinyl, cut on my vinyl cutting machine. And now through Christmas they’ll be saving their excess coins to donate to the Salvation Army in December! They are soo excited and had so much fun decorating their jars. It’s a small thing they can do on a daily basis to focus on giving to others!
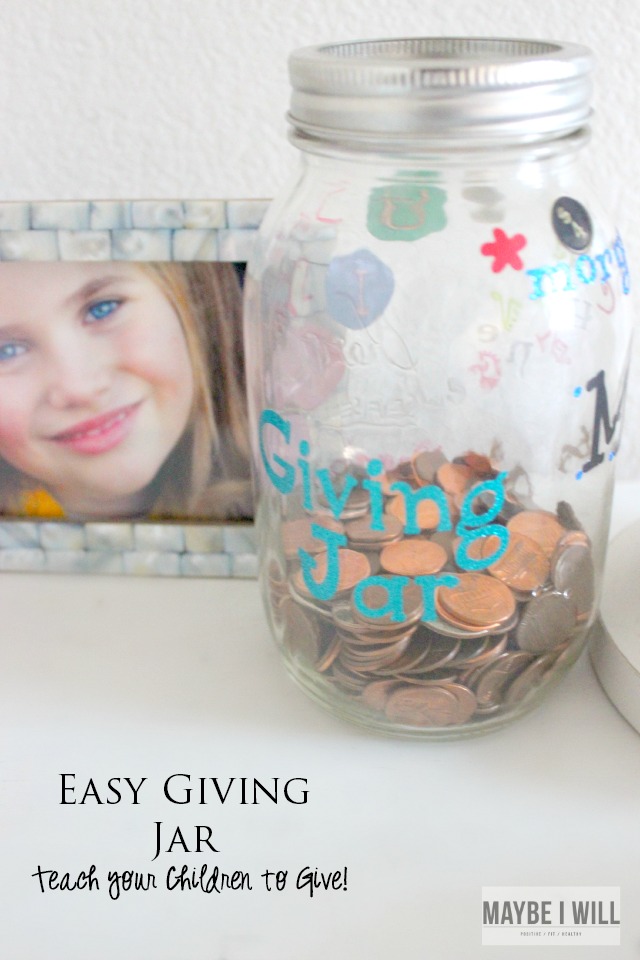
Do you have an old school Cricut laying around?!? You know the one that you… That you used back in the day to cut paper for scrapbooking… Did you know that you can use your Circut as a Vinyl Cutting Machine? It’s super easy to do! I’ll walk you through it step by step!! I now use my Cricut for cutting Vinyl more than anything else! It’s so easy!! One of these days I’ll upgrade to a fancy dancy new Silhouette or Circut Designer but for now my Cricut work great!
Materials Used: Expressions Vinyl is where I get all my Vinyl!!!
Glitter Vinyl — Colors Used for Activity
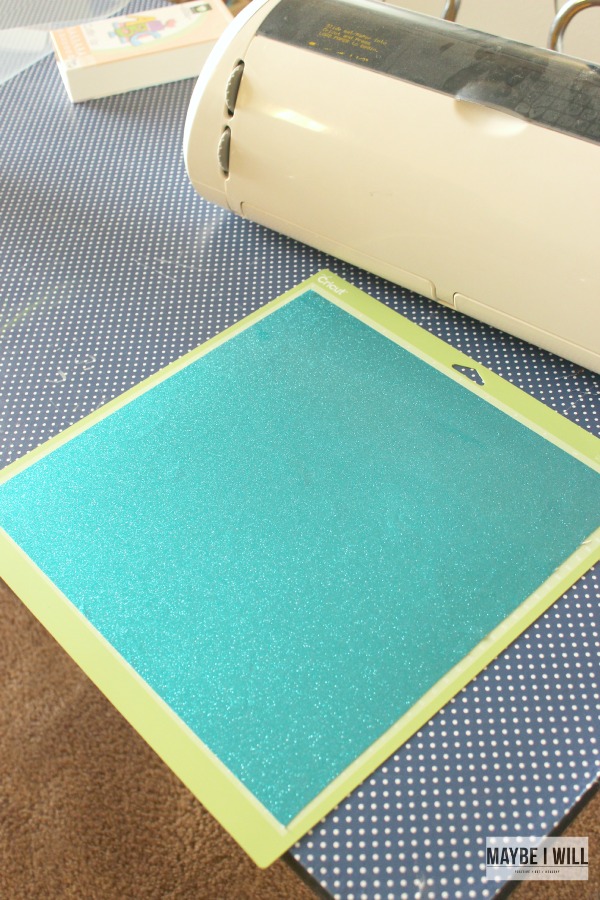
Step 1: Cut Vinyl if needed to 12×12 Square and place on cutting mat.
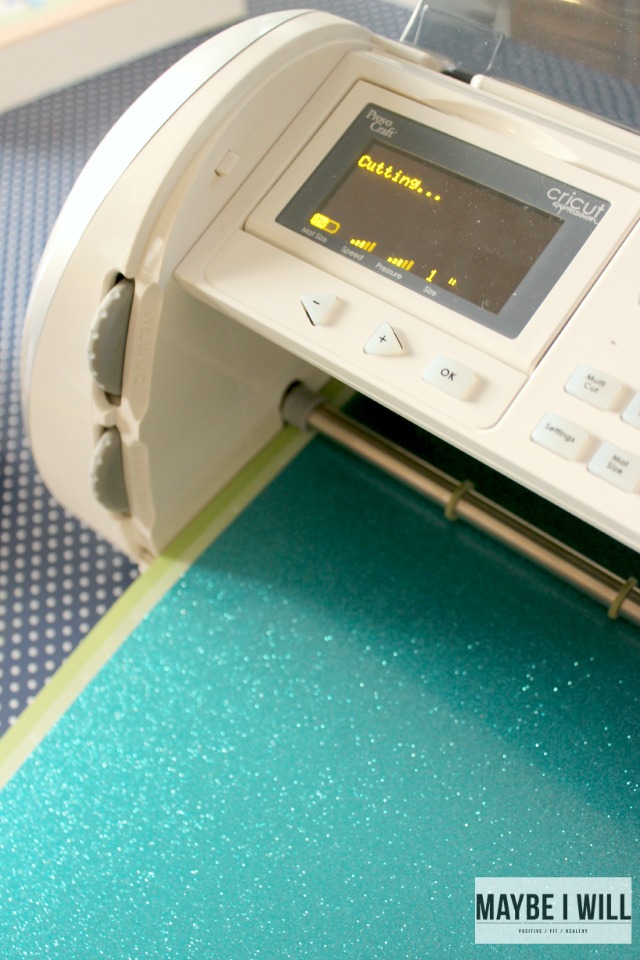
Step 2: Program what you want to cut on your screen… I programmed mine to cut “Giving Jar” at 1″ size… I find that having Speed at Med (3rd bar) and Pressure at Med (3rd Bar) is optimal for cutting vinyl!
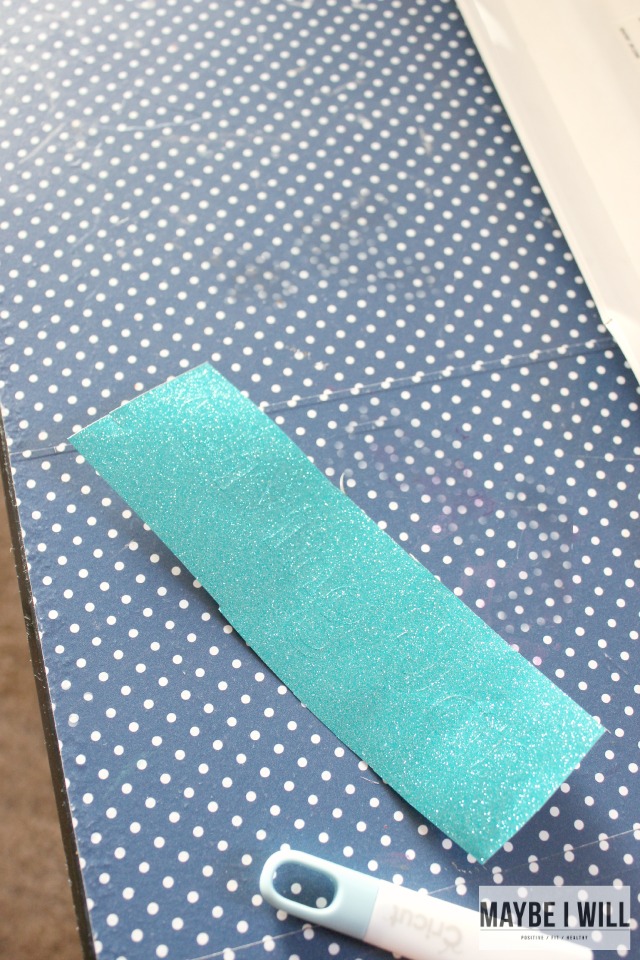
Step 3: Cut Piece of Vinyl to Size for easier handling
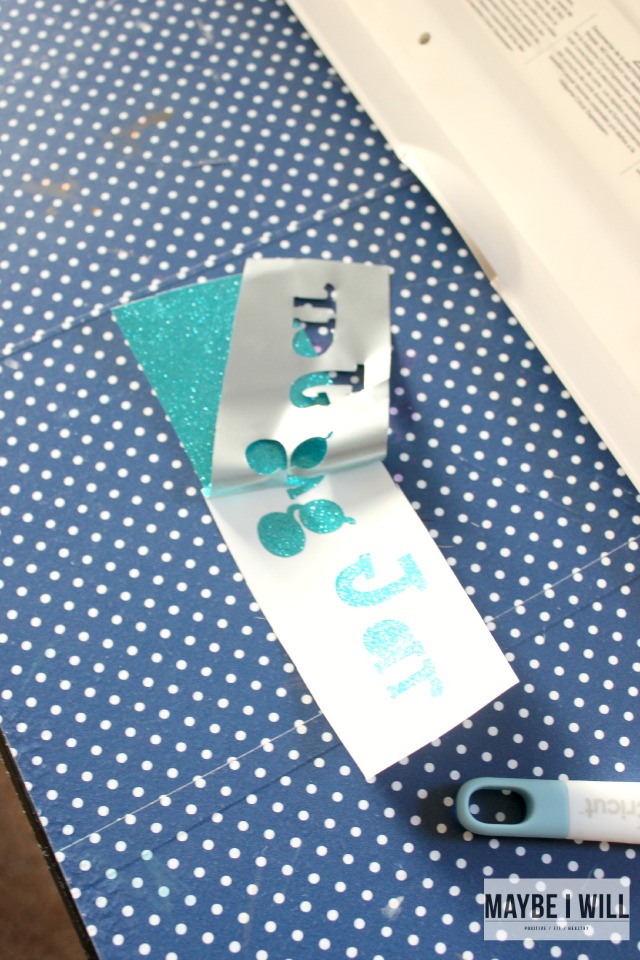
Step 4: This process is called “weeding” as you remove excess vinyl from the words you want to have stay. Remove slowly so you do not remove want you want to stay!
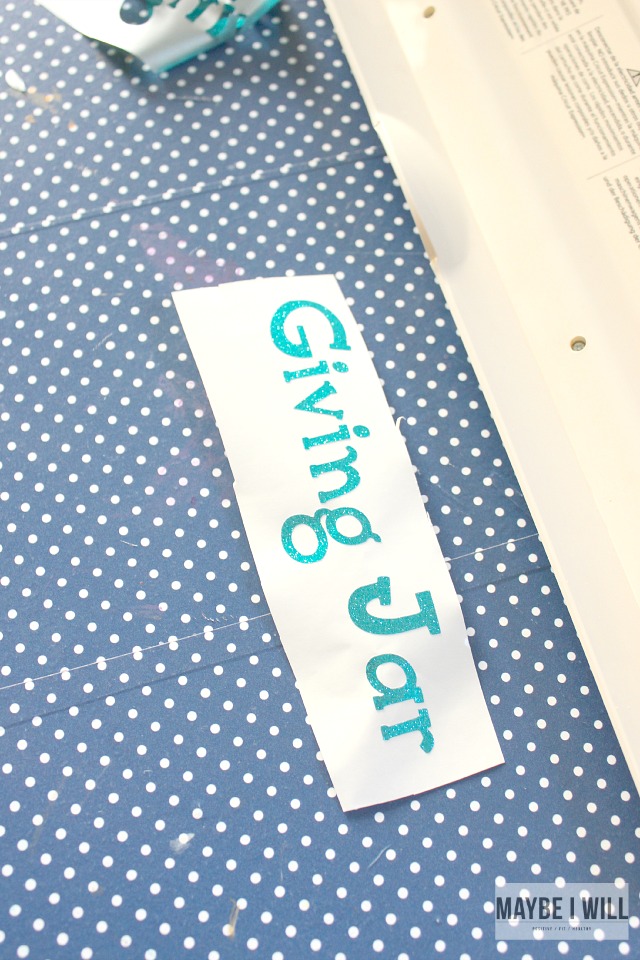
Step 5: This is what your words should look like once they are completely “weeded”
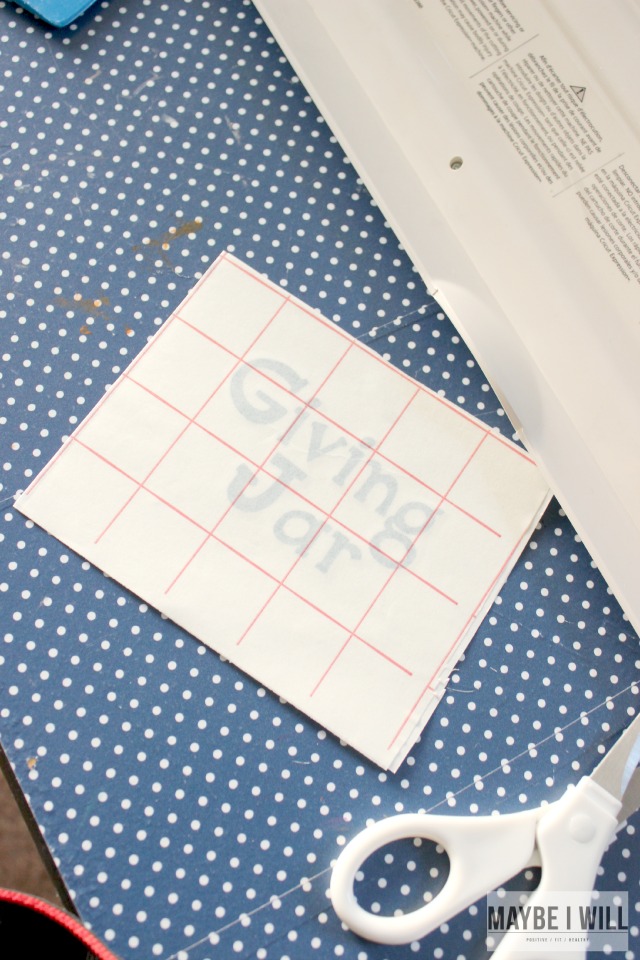
Step 6: Place Transfer Tape onto cut Vinyl – See how I cut my individual words and stacked them so they aligned how I wanted them to.

Step 7: Remove backing from transfer tape and place on object you wish to have Vinyl adhere to.
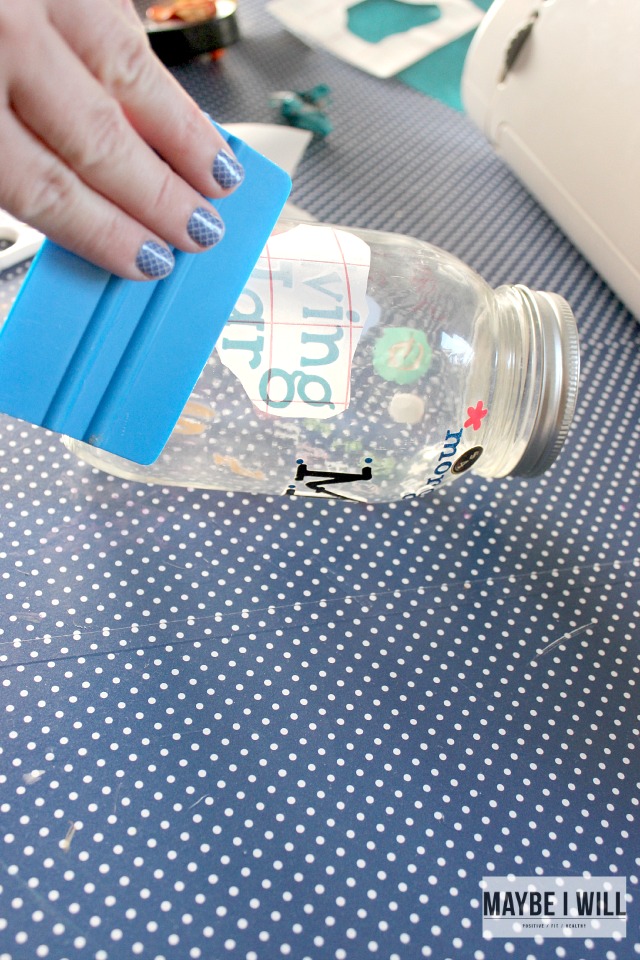
Step 8: You’ll want to apply pressure with a flat straight edge! You can use a Vinyl tool for this or a credit card works as well.
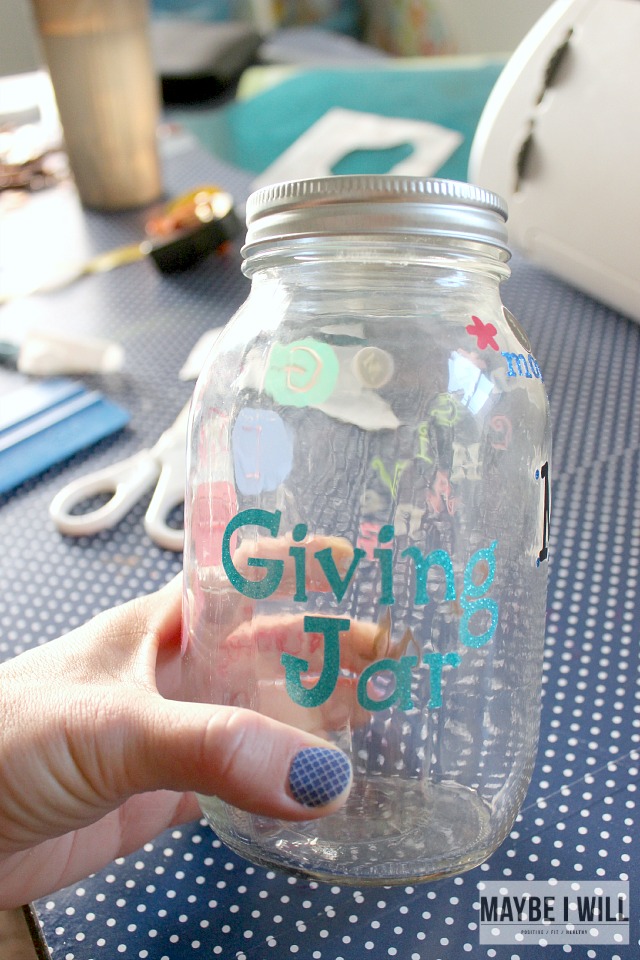
Step 9: Once you have applied pressure carefully remove transfer tape and then you’re done!! It’s that easy!!! You can now cut vinyl like the pros! 😉
The girls had a blast also accessorizing their jars with stickers and gems! But really any excess craft supplies you have on hand will work! Just think like a tween! The more stuff the better! 😉
